

Video how-tos
How Do I Design a Brick Stitch Earring or Charm Pattern?
Quick, silent clips of the designer in action. Watch one loop, then follow the steps beside it — tap a video to pause it on any step.
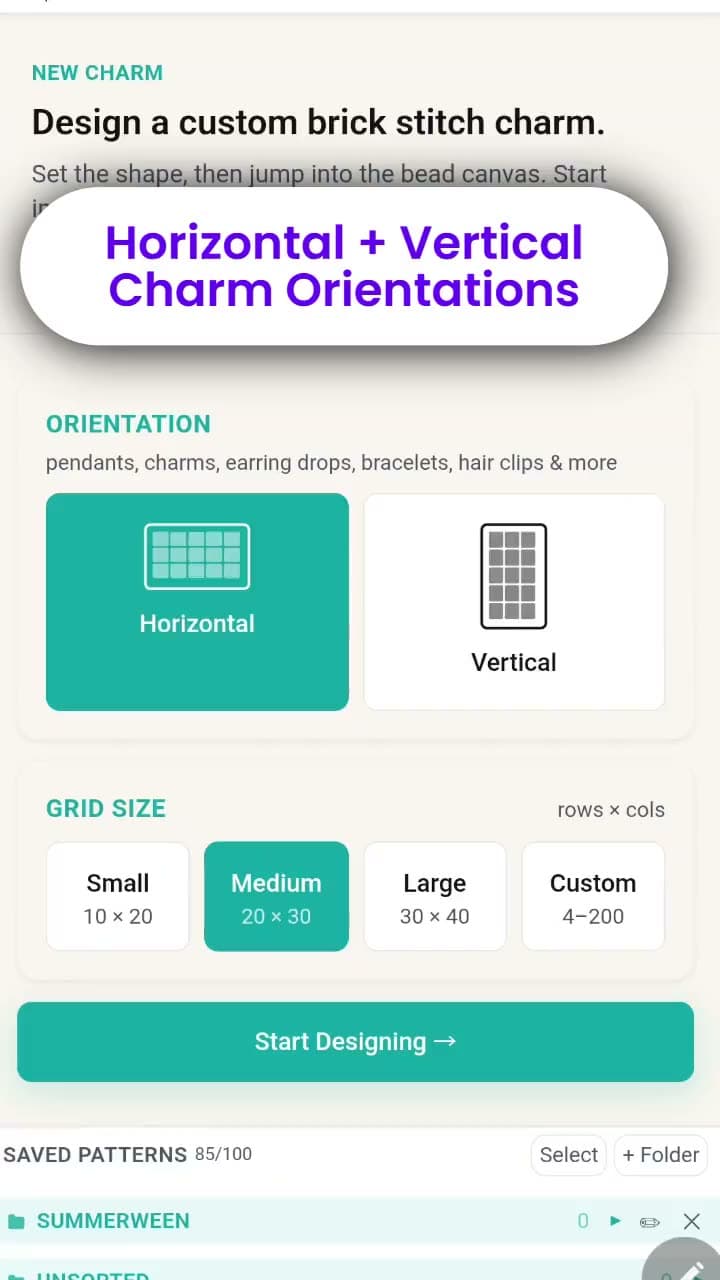
Video 1 · Quick how-to · 38 sec
Charm Layouts
Step 1: Pick Your Orientation
Choose how your charm will sit: Horizontal or Vertical grids.
Step 2: Select Your Grid Size
Use one of the 3 standard sizes or switch to Custom — build anything from tiny motifs up to a 200 × 200 bead grid.
Step 3: Start Designing
Play with creative tools:
- Inspiration Image to auto-map colorsPro
- Stickers for quick shapesAdd-on or Pro
- Fill and Copy/Paste for fast pattern building
- Symmetry to mirror as you paintPro
Step 4: Export Your PatternPDF: Pro
Your charm design can generate as a PNG or PDF word chart that’s fully compatible for stitching charms.
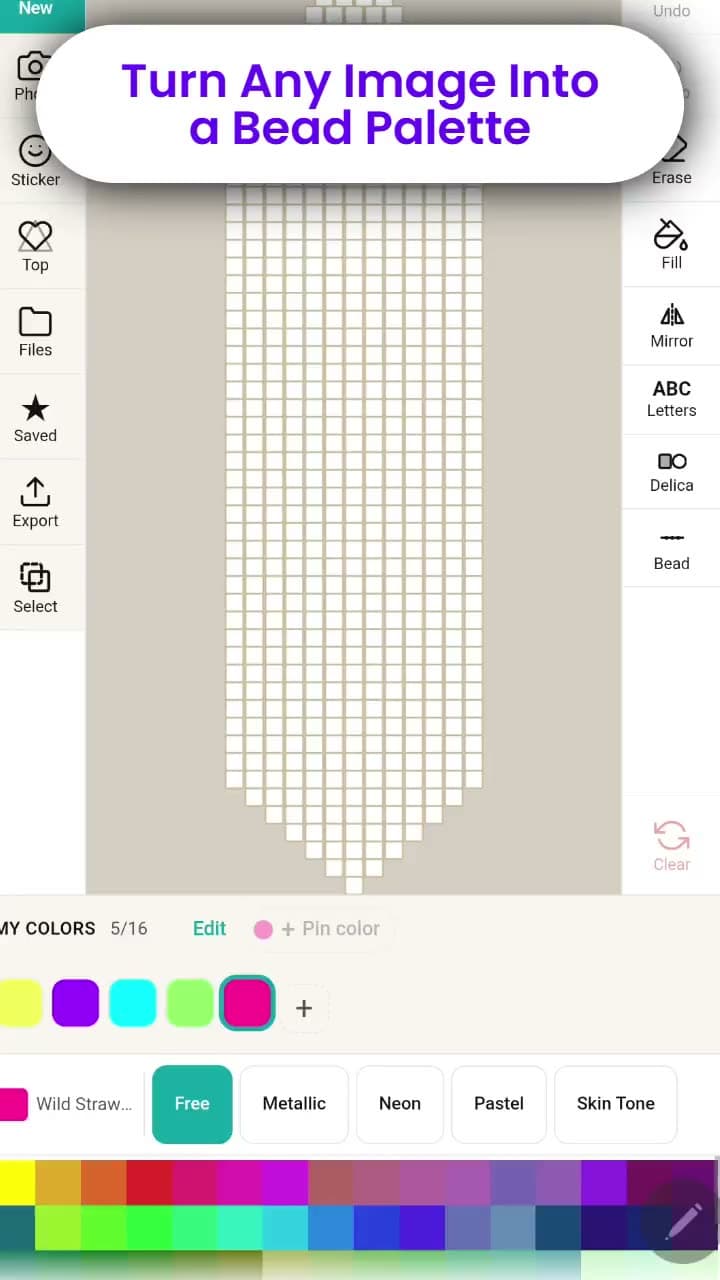
Video 2 · Quick how-to · 27 sec
Inspiration ImagePro
Step 1: Add Any Photo
Upload any image — a charm, artwork, selfie, color palette, or inspo pic. The app instantly maps the photo’s colors into your bead grid.
Step 2: Adjust the Mapping
Make the image fit your design perfectly by:
- Re-sizing the photo inside the grid
- Rotating it to find the best angle
- Flipping it left to right for new compositions
Step 3: Finalize Your Pattern
Once the image mapping looks right, continue designing with stickers, fill, symmetry, and copy/paste to refine your design.
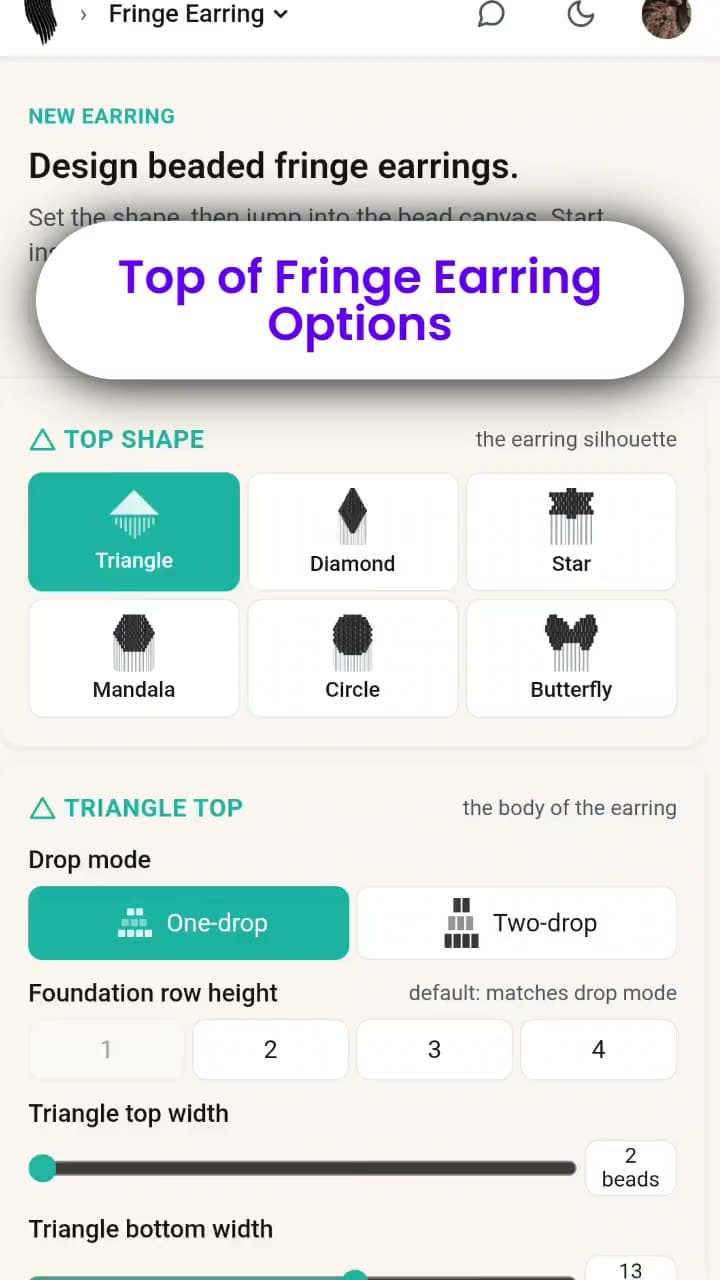
Video 3 · Quick how-to · 38 sec
Earring Pattern — Top Options
Step 1: Choose Your Top Shape
Pick the silhouette that defines your earring:
- Triangle
- Diamond • Star • Mandala • Circle • ButterflyAdd-on or Pro
Step 2: Choose the Width of the Topmost & Foundation RowsAdd-on or Pro
Set the bead count for the topmost row and the foundation row — this controls the overall width and structure of your earring top.
Step 3: Select Your Drop Style
Choose how many beads appear per row unit: One‑Drop (1 bead per unit) or Two‑Drop (2 beads per unit).
Step 4: Customize the Foundation Row Bead CountPro
Fine-tune the foundation row by choosing how many beads tall it is (1 to 4), giving you full control over how the fringe will hang.
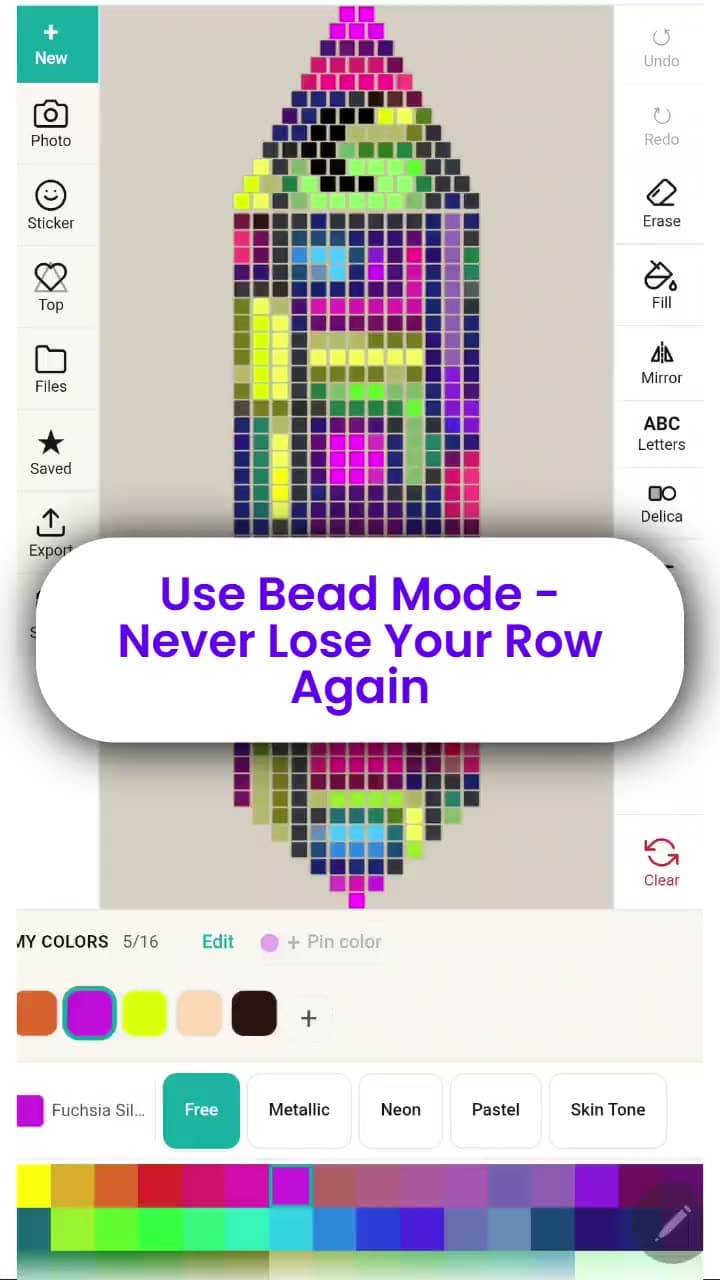
Video 4 · Quick how-to · 24 sec
Beading Mode & PDF Full Word ChartPro
Step 1: Beading Mode Works Everywhere
Use Beading Mode for all Charm layouts and all Earring patterns — it shows you exactly how your rows and strands will stitch.
Earrings — Top + Fringe Direction Options
Step 2: Choose Your Top Direction
For the top of the earring, you can stitch in either direction:
- Bottom → Top (default)
- Top → Bottom (reverse direction)
Step 3: Fringe Direction
Fringe strands always move Left → Right, column by column, so your bead chart stays consistent and easy to follow.
Charms — Flexible Row and Column Directions
Step 4: Start at the Base Row (or Base Column)
Charm patterns always begin at the base row (the base column on vertical grids), then you choose the direction:
- Horizontal Grids: Up → Down or Down → Up
- Vertical Grids: Left → Right or Right → Left
This gives you full control over how your charm builds across the grid.
PDF Export — Full Word Chart
Step 5: Prefer Paper? Export the PDF
Print a Full Word Chart anytime:
- Earrings include both the top and the fringe
- Charms start at the base row (or base column), work out to one edge, then return to finish the other side
Perfect for beading offline or keeping a clean stitching reference.
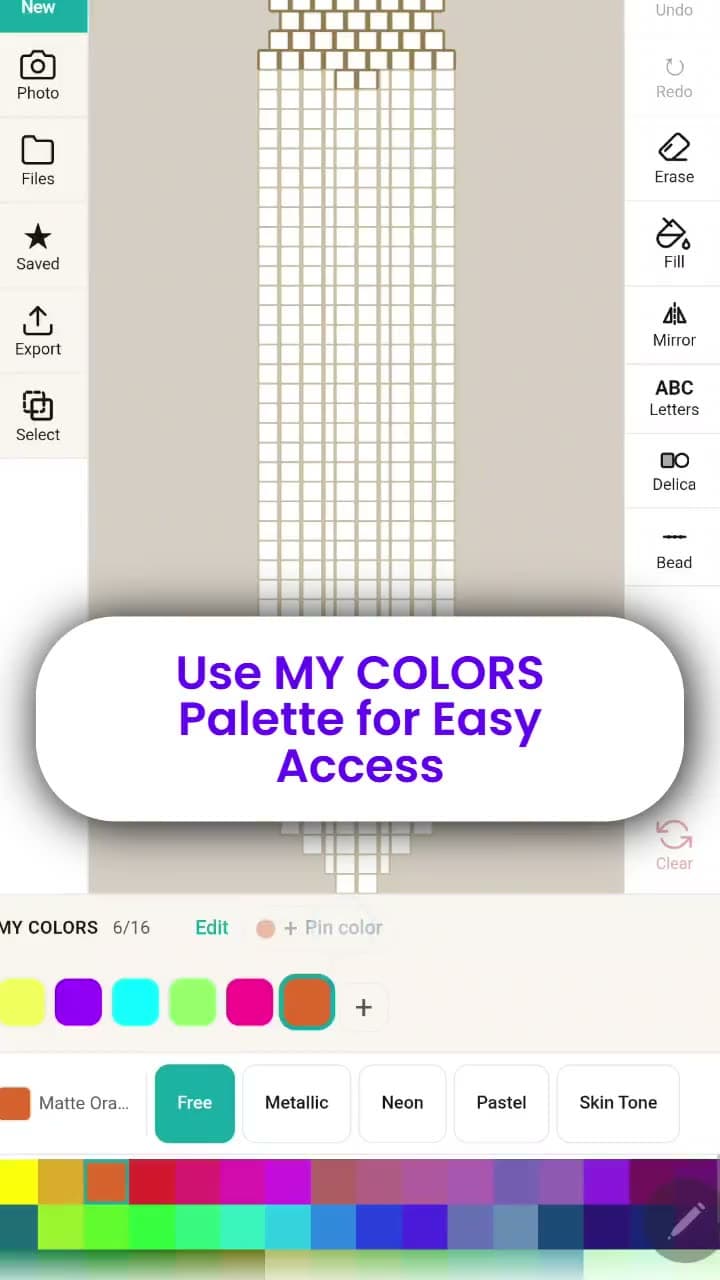
Video 5 · Quick how-to · 30 sec
Color Palettes & My Colors
Step 1: Choose Your Color Palette
Start designing with the built-in palettes:
- Free Palette — a robust, full color wheel selection available to everyone
- Metallic, Neon, Pastel, Skin Tone — special palettes unlocked with add-ons or ProAdd-on or Pro
Every color in every palette is matched to the closest Miyuki Delica bead, and its DB code is listed in the color key of your PNG and PDF.
Step 2: Use Your My Colors ListPro
Keep your favorite shades handy while designing.
- Pin Color — tap Pin to save any color to your My Colors list
- Add Your Own Colors — enter any HEX code to create custom bead colors
- Delete Colors — use the Edit button to remove colors you no longer need
Your My Colors list becomes your personal bead tray — always within reach.
Step 3: Design Faster With Saved ColorsPro
As you work on charms or earrings, your pinned and custom colors stay visible so you can switch shades instantly without hunting through palettes.
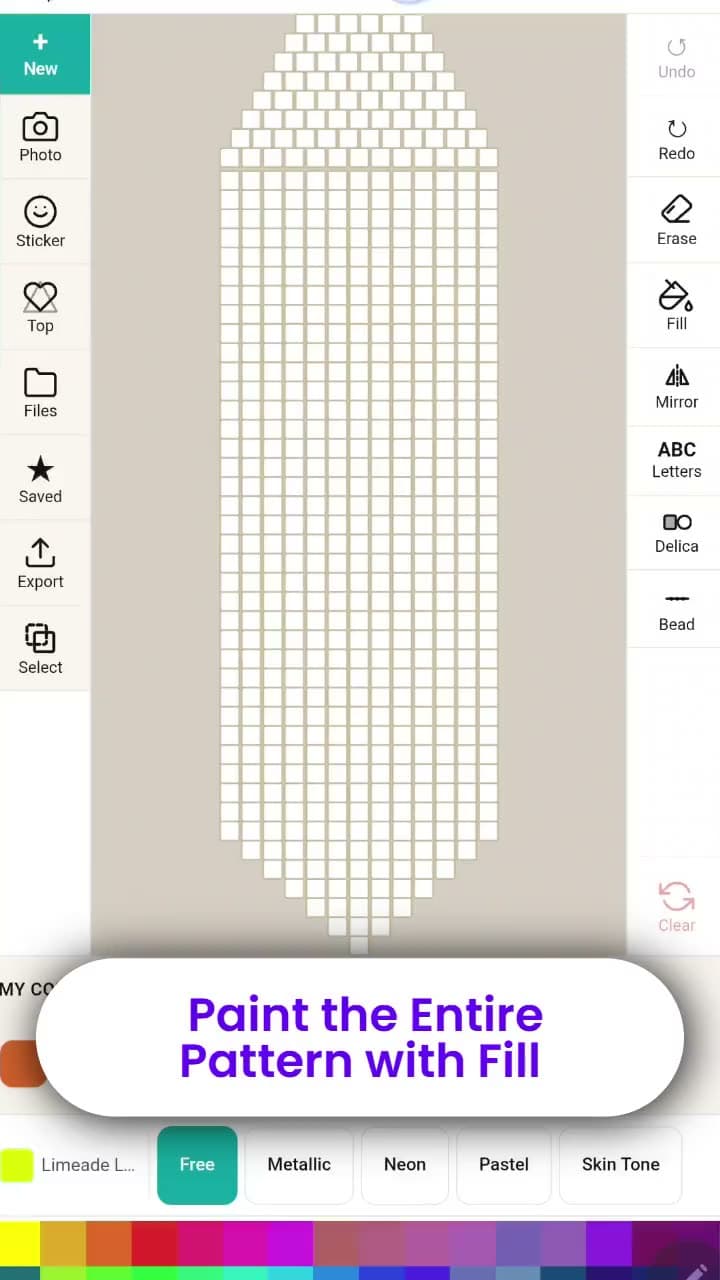
Video 6 · Quick how-to · 34 sec
Design Tools
Step 1: Fill
Fill an entire pattern at once with a single color — instant full‑grid coloring.
Step 2: SymmetryPro
One stroke, two sides — Symmetry mirrors your painting automatically.
Step 3: ABC Mode
ABC assigns a unique letter to each color for clean, easy word charts.
Step 4: Bead Shape Toggle
Switch between Delica cylinders and round seed beads with one tap.
Step 5: Select, Copy & Paste
Use Select to highlight any section of beads, Copy it, then tap or drag to place it exactly where you want and tap Paste.
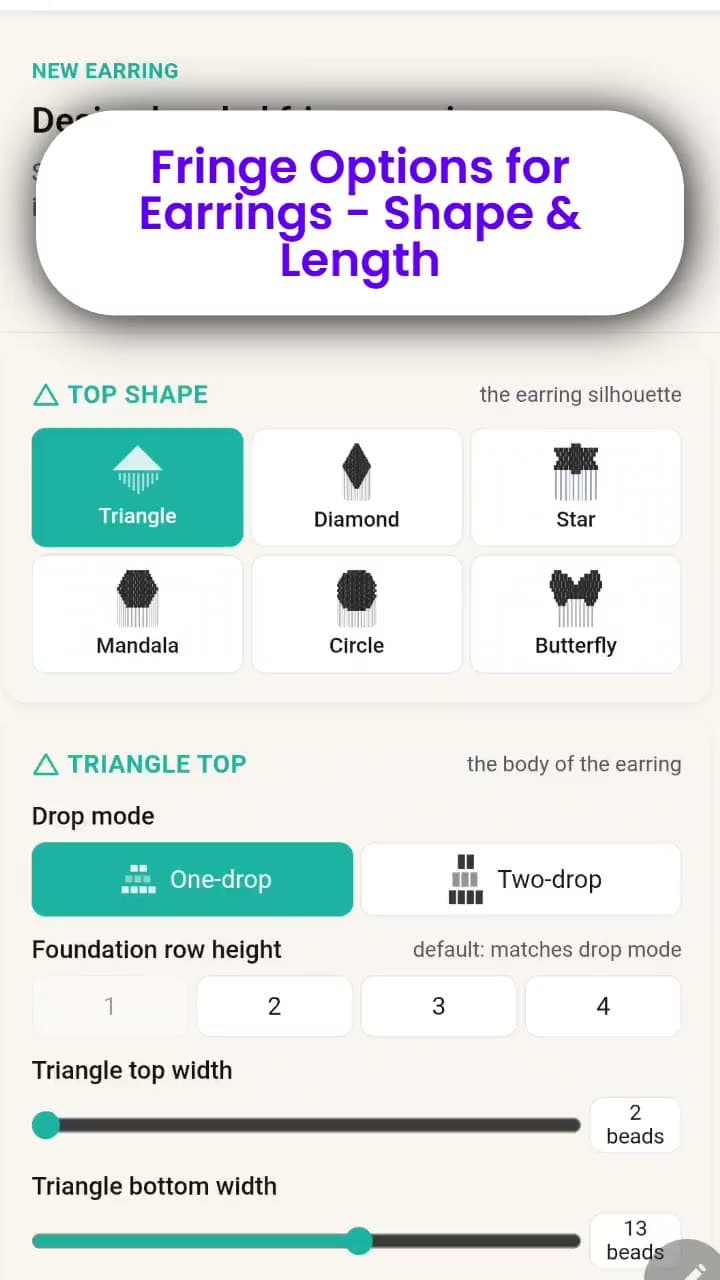
Video 7 · Quick how-to · 42 sec
Earring Fringe Options
Step 1: Choose Your Fringe Shape
Pick the style that defines how your strands fall:
- Chevron
- Rectangular • DiagonalAdd-on or Pro
Step 2: Set Your Fringe Length
Choose how long your strands will be:
- Short • Medium • Long
- Custom for full control — up to 100 beads on the longest strand (minimum is 1 bead)Pro
Step 3: Build Your Fringe
Once shape and length are set, design each strand with your tools: fill, symmetry, select, copy/paste, and your saved colors.
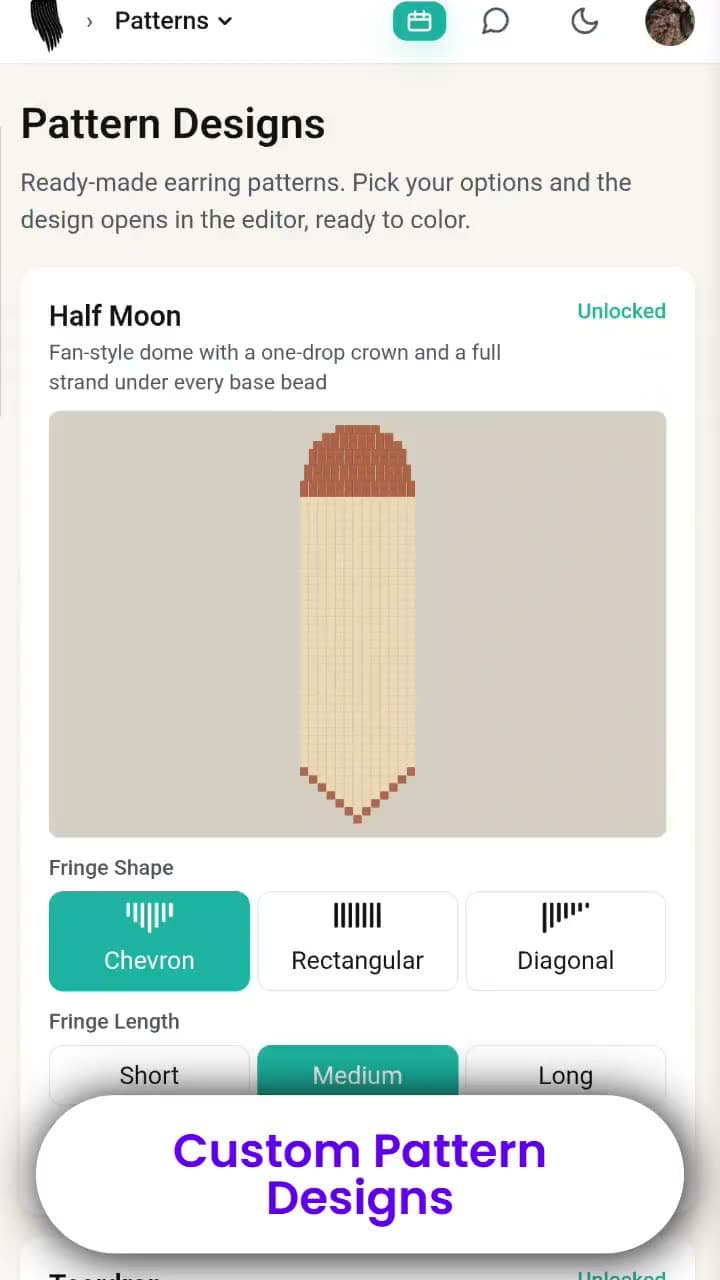
Video 8 · Quick how-to · 15 sec
PatternsAdd-on or Pro
Step 1: Choose Your Pattern Design
Pick from the 4 custom pattern designs available today — with more coming in future updates.
Step 2: Set Your Fringe Shape & Length
Select your fringe style (Chevron, Rectangular, Diagonal) and choose the length (Short, Medium, Long). The Eagle’s feather fringe is part of its design, so it offers the length choice only.
Step 3: Start Designing Instantly
Your pattern opens directly in the designer, fully set up and ready for you to customize with colors, tools, symmetry, stickers, and inspiration images.
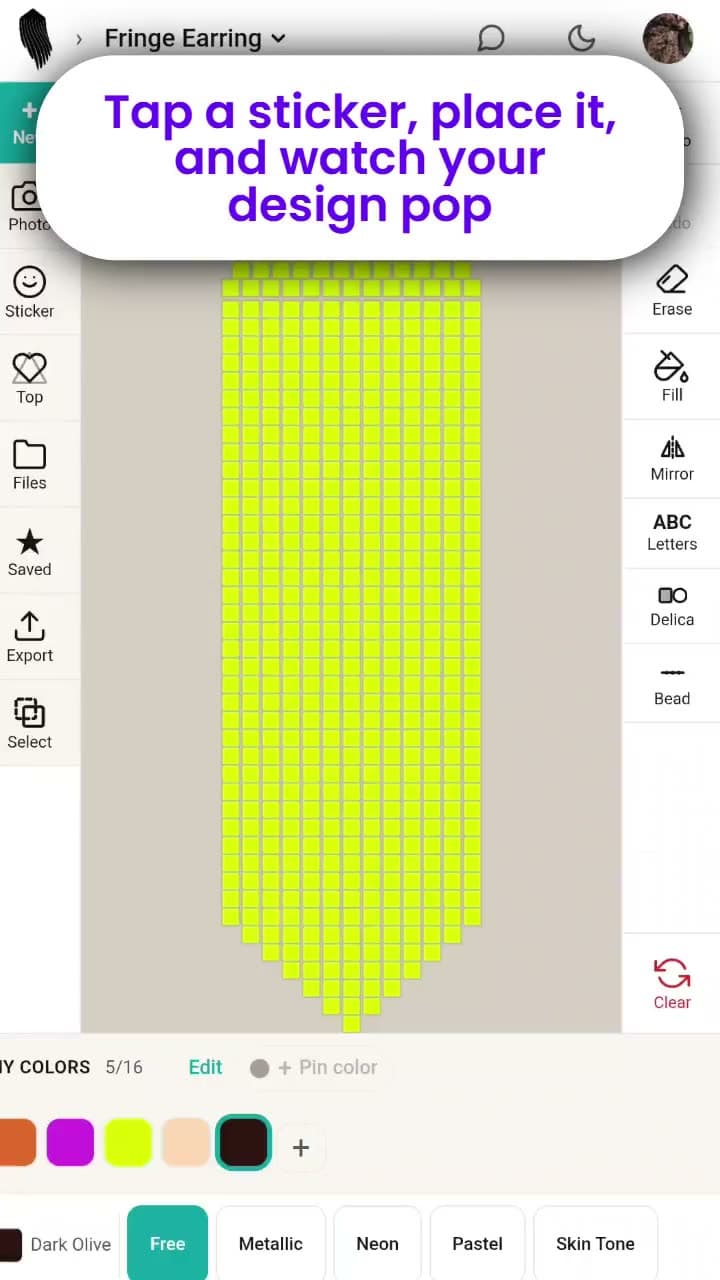
Video 9 · Quick how-to · 23 sec
StickersAdd-on or Pro
Step 1: Open a Sticker Pack
Choose from your options:
- Shapes — hearts, diamonds, circles, moons, and stars
- Spooky — bats, a spider, a pumpkin, a skull, and boo
Step 2: Tap Any Sticker to Place It
Select a sticker and tap anywhere on your grid to drop it instantly into your design.
Step 3: Flip and Place
Adjust the sticker to fit your pattern:
- Flip to mirror it left to right
- Tap the exact bead where you want it to land
Step 4: Use Multiple Stickers
Layer as many stickers as you like — mix shapes and spooky elements to build unique designs fast.
Step 5: Continue Designing
Blend stickers with your colors, symmetry, fill, select/copy/paste, and inspiration images for polished, creative results.
Try it yourself
The designer is free to start — no login required. Longer tutorials are on @beadweavingaz on YouTube, and the FAQ covers the rest.